Wednesday, November 10, 2010

Dining Room in Progress

I have been working on my dining room for several weeks. It has been slow going because I have a hard time making decisions when it comes to decorating my home. This is how the room started….

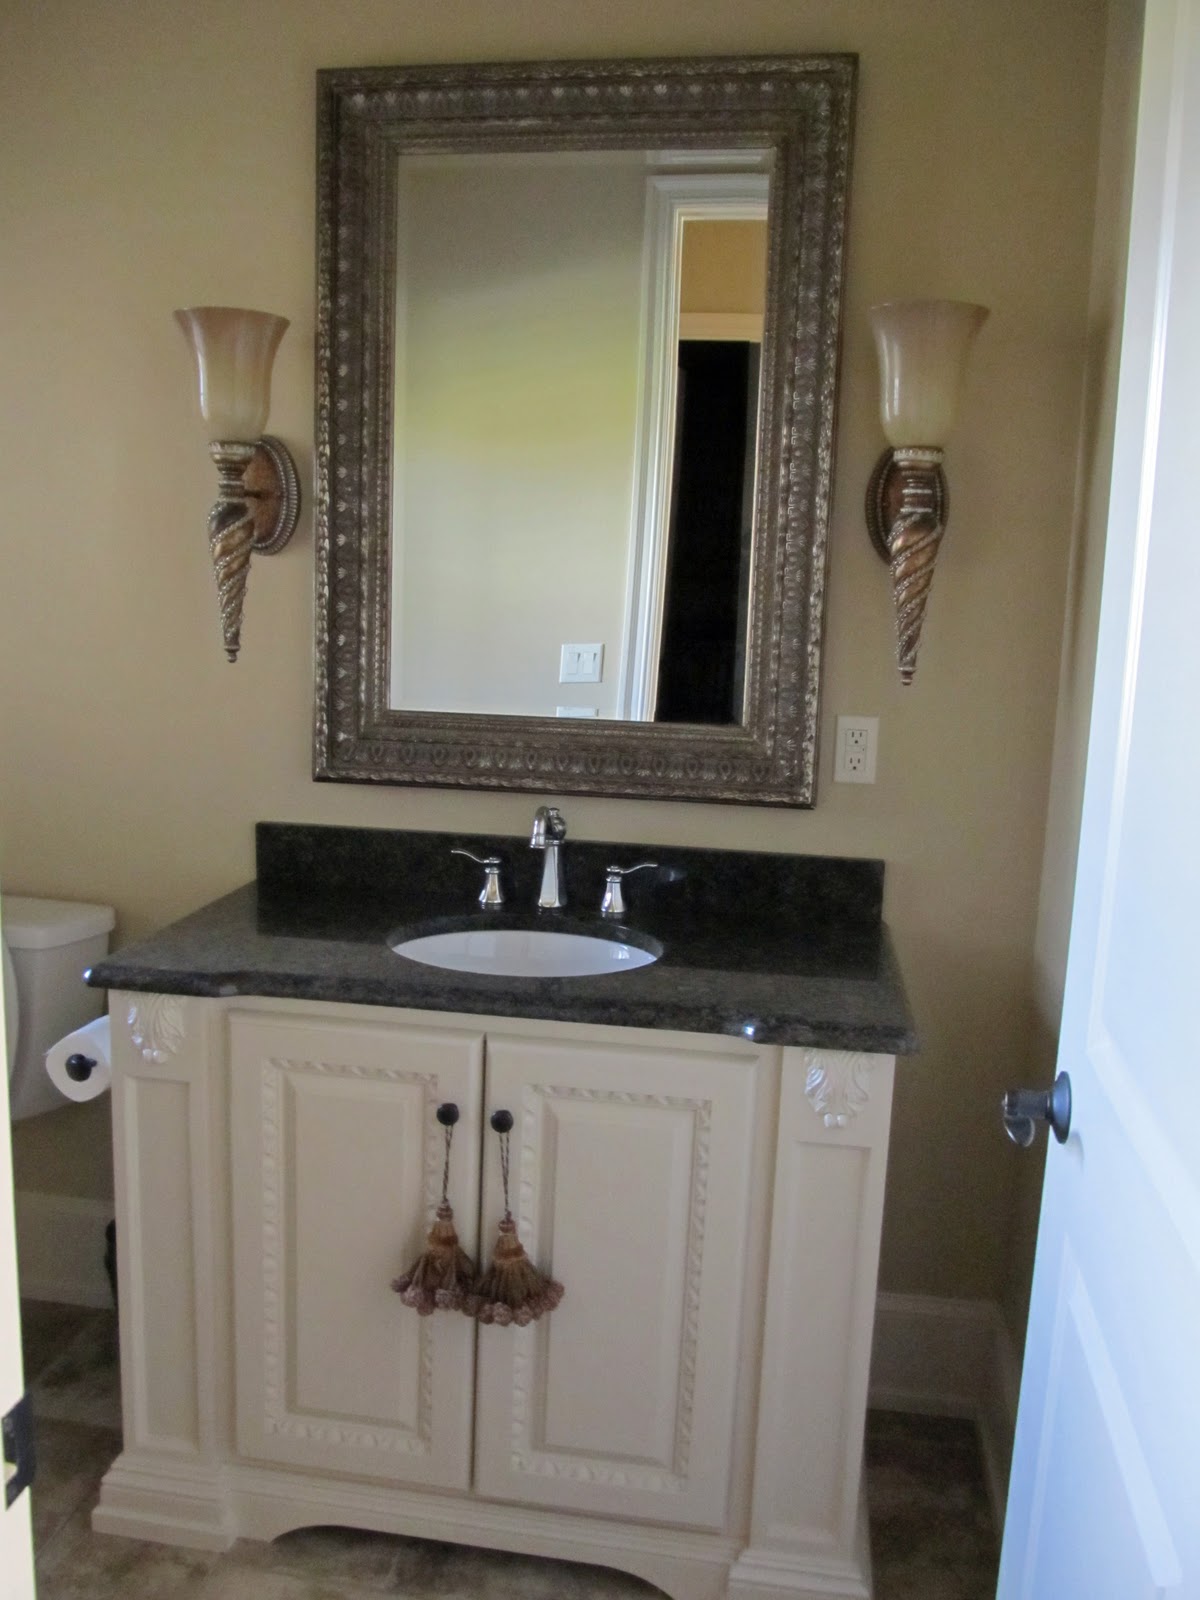
One of the first things I chose were this this black mirror and console table for the niche.

The console is a mirrored eglomise piece. It is pretty in real life, but hard to photograph due to its reflective qualities.

 Here is the top of the table(with reflection of the wall mirror).

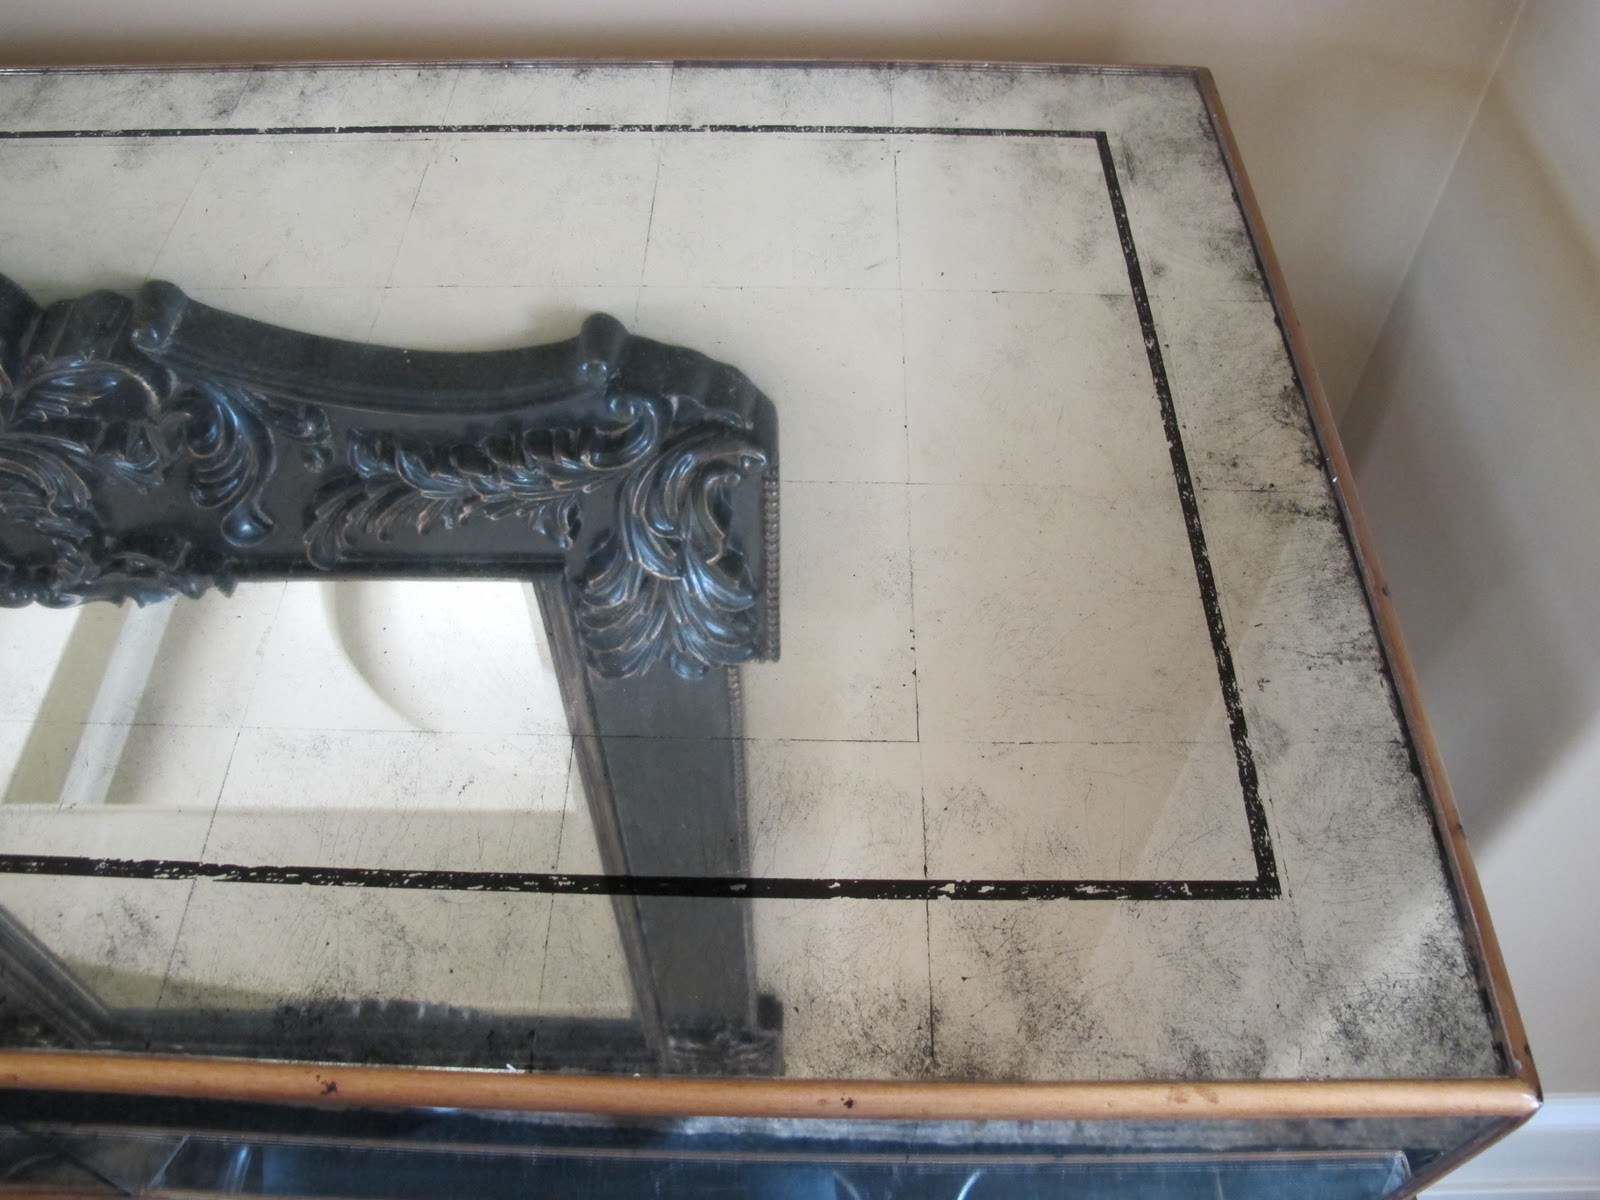
Great lines on the legs and base…


... claw feet.


I had a difficult time finding a dining set I liked.  I purchased this set as a "pressure" buy... we were having a dinner party and I didn't have a table. I liked it for all of two weeks.  The only good thing is that I got it at 40 % off.


Next I chose an area rug...


I purchased thsi pair of lamps for another room but decided to place them in the dining room on the console table.

Here they are on the the console table. 


My most recent purchase, posted about here, is this pair of  leather and animal hide end chairs.

The animal hide on the backs are shaved in areas that create patterns.


The seat and chair back have croc emobossed leather, which you can see on this close-up.  


Here are the chairs at the dining table. Since the patterns on the back of the chairs aren't identical, I placed the chairs at the ends of the table, then switched them to see which one had the pattern I wanted to face out to the main floor. 

Pattern One:


.... Pattern Two.


I think I like this one the best. I placed the upholstered arm chairs in the middle position on each side.  I like the fact that the set doesn't seem matchy-matchy now.


 I still need to change the wall color, choose window treatments and get a few more accessories. I have been really stuck on the walls. I like the color a lot, just not in that space. I am thinking of going lighter and a tone closer to the trim color. I have even thought about applying a plaster texture, but am concerned about doing that for a few reasons. I also want to something special on the ceiling areas. If anyone has any ideas, I would love to hear them.

Linking to:
Photobucket

Saturday, November 6, 2010

The END CHAIRS

A few weeks ago I went to the Boulevard of Dreams Green Living Show Home here in Kansas City and saw a gorgeous pair of end chairs. I became knew I had to have them and after a few weeks of pressure and negotiation with my husband (the chairs “count” for Christmas and my next birthday present), I secured them. I also have to give credit to Nancy (Fun with Nancy) for this victory. She is not only my friend, but is also my husband’s friend, and she was instrumental in breaking him down. Thanks, Nancy!!  I picked them up today….


 I think they are spectacular. The chairs have a black distressed finish with crocodile embossed leather seat and back cushion and nailhead trim.


Here is a close up of the croc embossed leather.

What is really unique is the animal hide on back of the chairs. The hide is shaved in areas, making an interesting pattern. This is because the hair on the hide is light and the hide skin itself is dark, so the shaved areas are dark pops of color against the lighter hair. The hide patterns are not identical.

Here is one… 


this is the other.


Here the difference in pattern is seen when they are side by side.

Close ups of the hide...


Here is the carved detailing along the top….


and the chair base.


I'm sure these chairs aren’t for everybody, but they are good for me. :)

Linking to:

Tuesday, November 2, 2010

Textured and Glazed Handrail

 I love iron spindles and railings, so in planning our new house, choosing iron for the staircase was a no-brainer. The difficulty for  came in choosing a specific design. I initially was hoping to have an all iron look with swirled iron panels and an iron handrail, but the cost was exorbidant. This was probably fortuitous because that treatment probably would have overwhelmed given the scale of the area. So, I went with a simple spindle and wood handrail.


Here is a pic showing the raw wood hand rail at the bottom of the stairway.


Since I wanted an all-iron look, I decided not to stain the handrail. Instead, I did a metallic paint treatment that had texture that mimicked metal. After priming the raw wood, I applied texture (weathered bronze lusterstone) with a chip brush, and lightly sanded after it dried. Here is a pic of the lusterstone after sanding.


I then applied a metallic paint glaze (mixture of two Modern Masters metallic paint colors plus some glazing medium) to match the spindle color.  Finally, I topcated with two coats of  polyurethane.


Linking to:

Monday, November 1, 2010

Light Fixtures

When building our house, one of the most enjoyable part was choosing the light fixtures. The not so fun part was trying to stay within the lighting allowance. One fixture I absolutely loved would have eaten up 20% of the allowance... I just couldn't do it. So, I started out picking fixtures I really liked that were reasonable and then got to the point where I had to settle for fixtures I 'kind of ' liked for other areas. The first fixture I chose was for our entry.


 I like the scrolling leaf detail and the finish in general. I also chose to put shades on the the fixture.


Here is the dining room chandelier and sconces.


I’m still trying to decide if I should change or paint/glaze the candle covers (a little more yellow/gold than I would generally choose).


 For the great room, I wanted this is the fixture that I saw in a model home.


Unfortunately, the fixture was no longer in production and not available. So I went with this chandelier.


                        I like the scrolyl shapes at the top and the tear drop shaped dangly things. 


 Here are the sconces I chose for above the fireplace.  I am not crazy about the mirror and am looking for something different. 


In the main floor powder room, I decided to put two sconces on each side of the mirror.  


 I like the shape of the base and glass beading. My husband hates these sconces.  


 I also chose to place a couple of sconces in our master bath area. I was not real excited about these, but they were fixtures I settled on to stay within budget. At a later time, I want to get a pair of sconces that are longer and with more weight... maybe some crystal, too.


 This is the chandelier in our master bath. I purchased this for 60% off retail at a local lighting company that was liquidating their inventory. I am going to string crystal beading to the fixture to add a little more bling.


For the stair landing, I chose a lantern.  It looks kind of small in the pic, but it is about 4 feet in height.     
           

A close-up of the cage look. 


Below is the fixture I chose for our kitchen dining area.  


I chose to add shades to this fixture. 


In our kitchen we have an arched opening and I placed sconces on each side of the opening.


Here is the right side... 


and a close-up. 

 Above the kitchen island, I initially chose a pair of chandeliers, but they were on back order for several months. So I ended up choosing these lantern fixtures.  In retrospect, I think that was good  because of the number of chandeliers in other areas.


A close-up. 


Linked to: