Saturday, September 18, 2010

Sofa Finish Fix

This is my hearth area sofa as it looked when I left my house the other day. Please note the condition of wooden frame, especially the corner on the left side of the image.

This is how the corner looked when I returned home a few hours later.

One of my Dobermans decided to lunch on my couch. Almost as bad was that my husband saw it first AND he had already been giving me a little grief about two sofas I had just ordered a few days before for another room. UGGGH!  Right away, I started sanding the s**t out of the area because it was all fuzzy, with splinters sticking out everywhere.

...after more sanding.

After I got it to where I thought the surface was smooth enough,  I brushed on and wiped off Rich Brown Stain and Seal. Here are pics during application.


I needed to apply a darker glaze over the Rich Brown Stain, so I clear coated the area with Aqua Guard as a barrier coat to prevent the darker glaze from biting into the surface and covering up the underlying Rich Bown color. Here is a pic of the clear coat after I applied it, still wet.

After the barrier coat dried, I brushed on and blotted off an American Walnut Stain glaze. When that dried, I applied two coats of polyurethane.


... without flash.

Even though the shape of the corner is more irregular than the other ones, I still think it is hard to tell that the area has been worked on unless you look real close.


Linking to:
Funky Junk Interiors' Saturday Nite Special
The Shabby Nest's Frugal Friday
My Romantic Home's Show and Tell Friday
Finding Fabulous' Frugalicious Friday
Chic on a Shoestring Decorating's Flaunt It Friday
Be Different, Act Normal's Show and Tell Saturday
Under the Table and Dreaming's Sunday Showcase Party
DIY Showoff's DIY Project Parade
Between Naps On the Porch's Metamorphosis Monday

Tuesday, September 7, 2010

The Turquoise Dining Table

Look what I came across at a local department store this past weekend when I was shopping for charger plates….

This table was gorgeous. The turquoise finish was glazed beautifully and perfectly distressed. I not only loved the table, but also thought the dinnerware, table linens and topiaries looked great.  ALthough I liked the benches,they looked too low to provide functional seating.

                                   A close-up of the distressed finish and the crystal knobs.

Here are the placesetting with the multi-color floral design dinnerware. The charger was a bronzy amber  that had a glitter look. The second pic shows the “glitter” look a little better.

Here is a close-up of the topiaries.  They are made of real preserved boxwood leaves. They are soft and feel real to the touch.

                                                                         Another angle....


                                     Between Naps On the Porch's Tablescape Thursday

Sunday, September 5, 2010

Front Entry Improvements

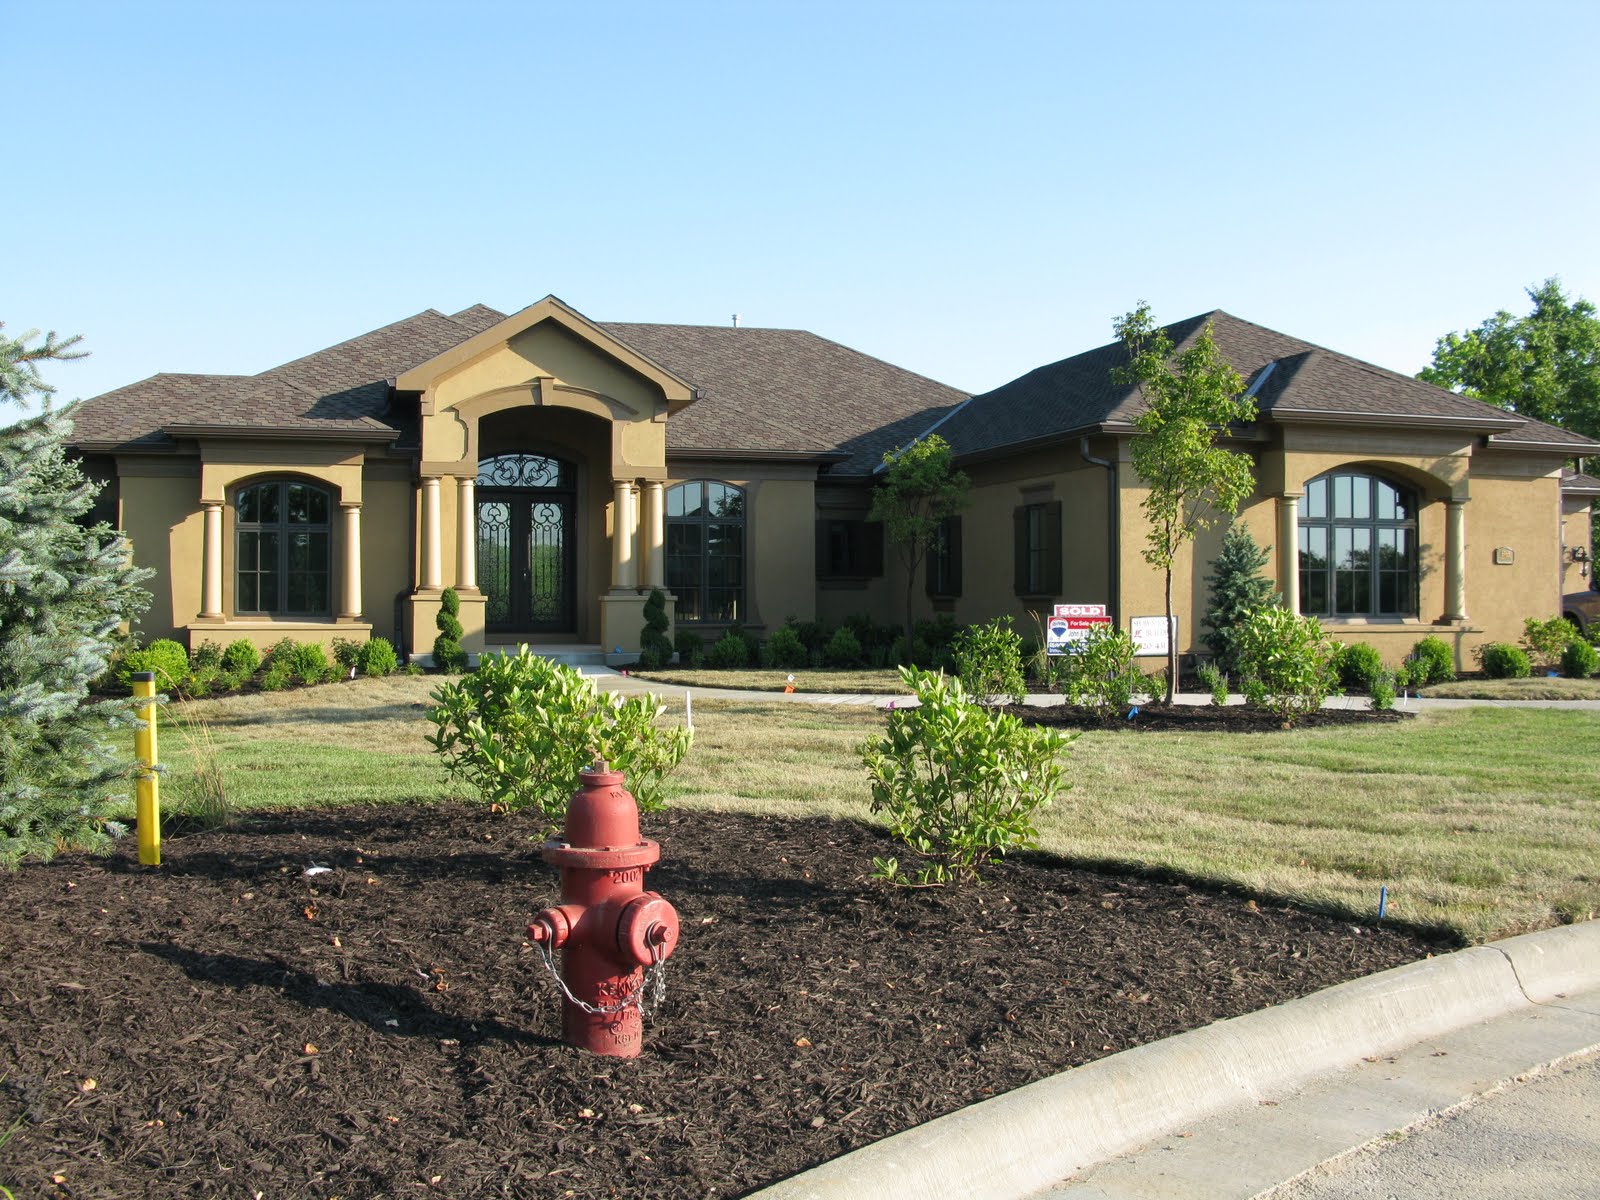
After we built our house, we were happy with the front facade of the house, inititally.


        I especially love the front door.

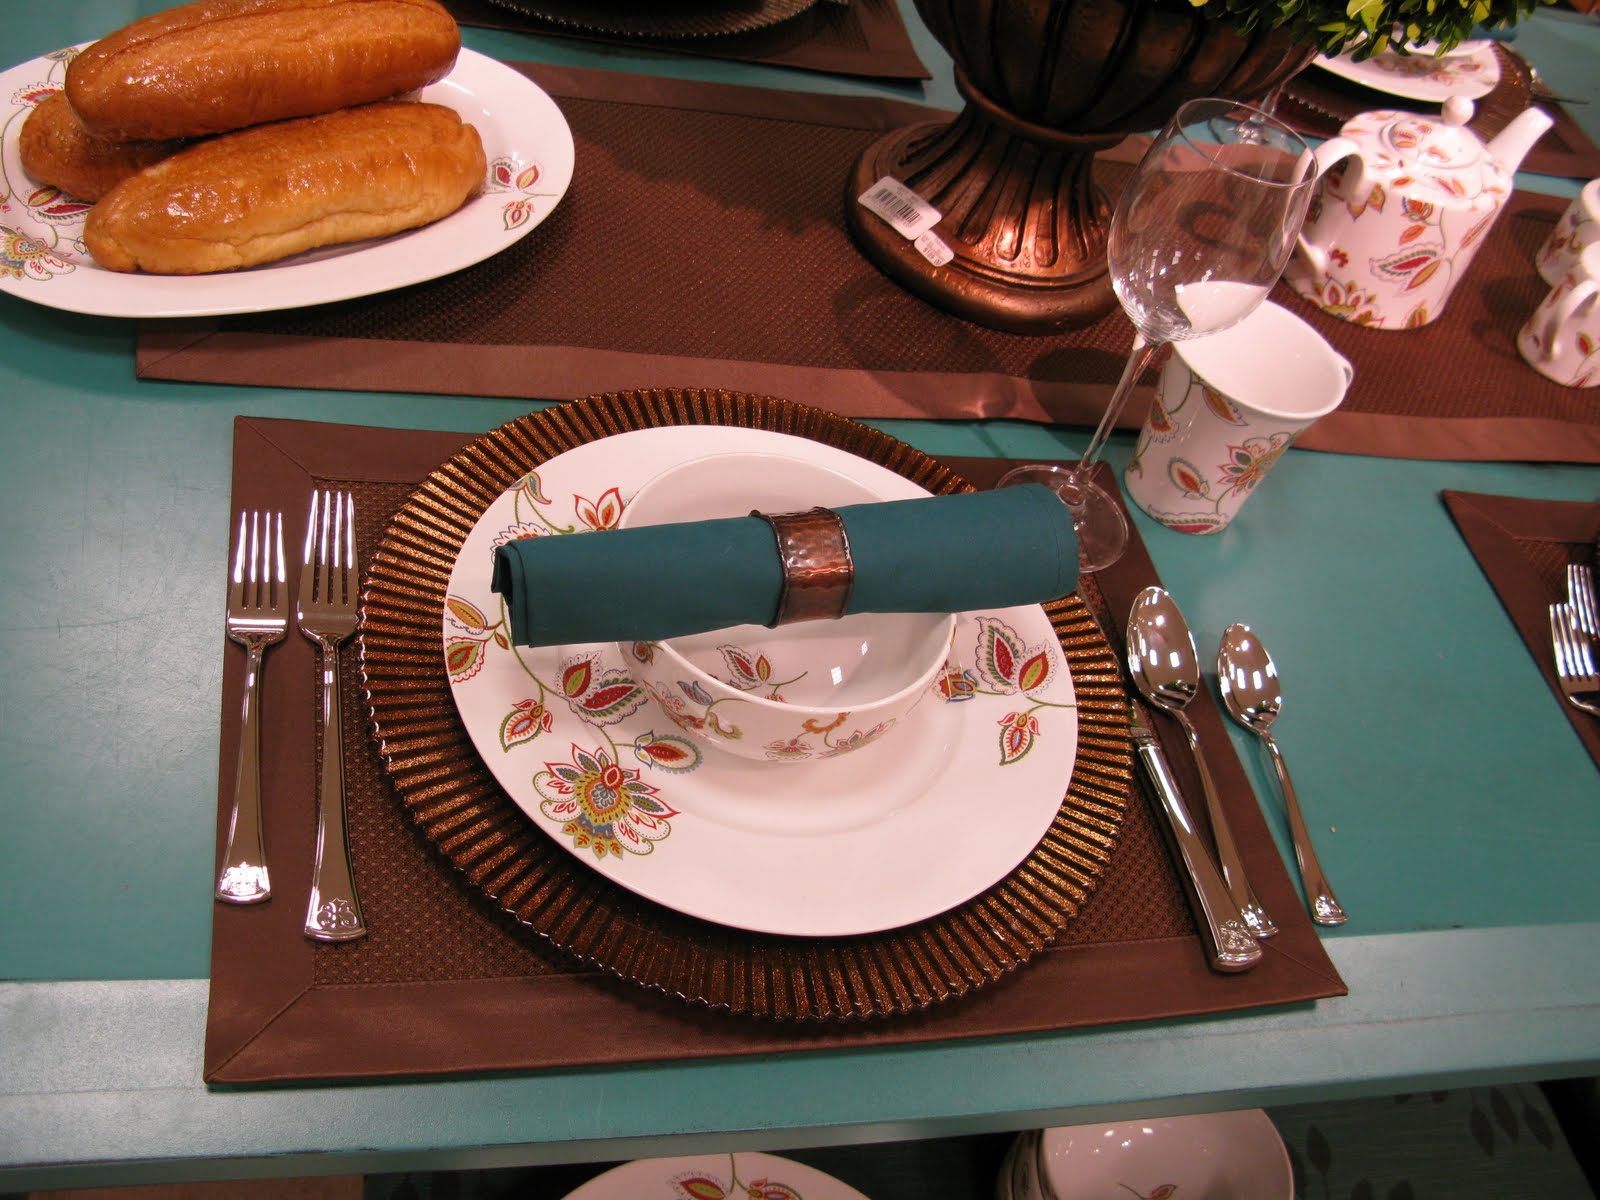
When we were building our home, the choice of what kind of front door I wanted was a no brainer ... because I LOVE hand-forged wrought iron doors. Now picking out the design, dimensions, transom or not, shape of transom, finish and type and color of glass was a little more time consuming, but fun. I ended up going with an 8.5 foot double door unit with a 2 foot elliptical transom in a finish called Gunmetal Bronze. This door unit is seriously heavy. I think my builder said the whole unit weighs something like 750 pounds. Scary... I could not watch it being installed.
Cleaning it is super easy as the glass panels are hinged on the steel frame. To clean the glass, all I have to do is undo a few latches and open the panels. If you look closely, you can see dried drips of something on the inside of the glass.  That would be Doberman snot marks… my dogs think they can’t see out of glass unless they press their snouts directly against the glass and blow.  I clean most of my main floor windows and the front door glass at least three times a day, no kidding.


After living in the home a while, we decided we wanted something a little more special than just plain concrete for the porch.  Here is a picture of the front entry with plain concrete.

We decided to do a stamped and stained concrete finish. I think it added a lot to the entrance of our home. As decisions are always an issue for me, picking out the pattern and stain color took probably twice as long as it would have take a normal, balanced person, but I like the way it turned out. In fact, we ended up doing the same treatment on our back patio and sidewalks. Here are some pictures of the stamped  concrete in front.


We also decided we needed something a little more than just the landscaping we had already done to the right of the porch. We did not want to plant a tree because of potential light obstruction to the window behind the area, so we decided to add a simple urn water feature. The urn was a rusty muted terra-cotta color when installed. It has changed in appearance because I have not been good at adding the algae control liquid. I need to give it a good scrub.


Although, I think the front entry with the stained concrete and the water urn have been good additions, I still feel like the space could use something else.  I know I could do a nice fall wreath a little later in the season to add some color and interest.  If anyone has any ideas what else might look nice, I would love to hear them.

             My Romantic Home's Show and Tell Friday
                Between Naps On the Porch's Metamophosis Monday