Showing posts with label Kitchen. Show all posts

Wednesday, August 14, 2013

New Sitting Area

Part 1: Sitting Area
 
While furnishing our new kitchen hearth area, I recently addressed the area by the stair well. This is an old picture taken before construction... 
Here is the area during the expansion project (area by the two arched openings, far right just beyond scaffolding):
 
 
Area when construction was completed, unfurnished... 
 
 
I decided to use this as a seating area and went with a pair of leopard wing chairs (already had one and just recently purchased a second)...
 
                                 I chose this tea table with castors to go between the chairs...
                                              
                                 Close ups of the table's eglomise mirrored top (the "circles" in the mirrored surface are reflections of ceiling lighting)...

                                                               and the burled bottom shelf....

                                                      Close up of the spotted finish on the frame...

                                                            Here are the chairs and the table in place.


     I added a table lamp...


         Close up of the hanging crystals...


    A few items need to be added to the table, but otherwise here are all the pieces together....


 Part 2: Dobers

AND last, but not least, here are some recent pics of Henry, Princess and Rex:
 
Rex...
*(don't the boxwoods look great?... NOT optimal to have short evergreens with tall male dogs)  :)

                                                                         Henry ....

                                                                      Princess ....
                                            and all three together at the top of the stairs.... love my dobes!!


Linking to:
 

Tuesday, July 16, 2013

Working on the Kitchen Dining Area: Kitchen Dining End Chairs

Our kitchen dining set with stained wood and upholstered leather chairs seemed blah, boring, one note...   


...too much brown.
 
To fix this, my thoughts were to add an area rug and get end chairs that are different. When I saw this wing back chair I thought a pair might be interesting as end chairs. I liked the lines and the height...  at 52 1/2" the chair is 4" taller than our current kitchen dining chairs.


 It was a nice chair, but it had too much brown, the color I wanted to avoid. After looking at various fabric and leather options, I ordered a  pair upholstered with hair on hide, shaved in a zebra-like pattern. I didn't go crazy with color, but went with a bold pattern. This is the hide sample:

 
After several weeks they arrived: 

The chairs have hair on hide, except for the seats and the arm rests, which are leather.  The same leather with nail head trim runs down the front of the wings and below the arms...


The white part of the hide is shorn hair and the dark part is shaved down to the hide. This close up of  kind of shows this:
 
 Side view...
 
Back view... 
 
The chairs at the kitchen table....

I am looking for an area rug and am still deciding whether I am going to keep the wing chairs at the table or not. A bonus of the chairs not actually being dining chairs is that I can use them elsewhere as occasional seating.


Linking to:

Motivated Monday at Be Colorful
Inspire Me Tuesday at A Stroll Thru Life
Wow Us Wednesday at Savvy Southern Style
Feathered Nest Friday at French Country Cottage
Show and Tell Friday at My Romantic Home


Monday, April 15, 2013

Expanding the Kitchen Hearth Living and Dining Area

 
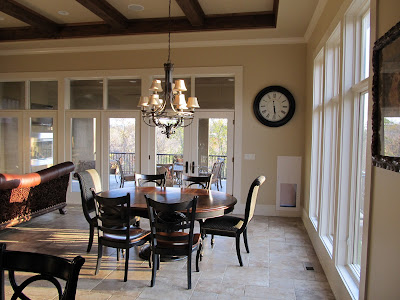
For the last six months, we have been in the process of expanding our kitchen hearth and dining area.  This is the area where we spend most of our time and the original space seemed cramped, especially with three large dogs. After consulting with an architect, we decided to incorporate the exterior roofed upper level patio (lanai) that was just beyond our kitchen dining and hearth into interior space and then build on a new lanai. Here is a picture of the area before we started construction (the original fireplace is not in view, but is in on the left, in front of the couch.).
 

Another view from the far wall of the area...

To begin, a small foundation had to be poured that would support the new lanai (see below). The boxed jut out (with that God awful roof vent above it, that is thankfully now gone) is where the old fireplace was located.
 
Below, through the windows, workers begin demolition of the old lanai. On the left is the previous hearth area. I always thought that the fireplace looked like it was crammed in the corner.  
 
 
 Below is an exterior view of demolition involving removal of the old fireplace and wall... lots of media wires.
 
 
 Interior construction beginning...  this is after the previous fireplace was removed and an elliptical  window was hung in its place. Heavy plastic draping was placed ceiling to floor to try help protect the interior that wasn't involved in the project. This is when the party really started... not.
 
 Here is an exterior view showing early construction of the new lanai (on left with Tyvec sheeting).
 
 
Here is the new area early in construction, showing the pair of  windows that flank the new fireplace.   
 
 
 The image below was taken after beams were installed, distressed and stained and beginning of the install of the new tile flooring.
 
 
... tile flooring almost complete.
 
 
Here is a view looking toward the lanai after the flooring was done. 
 
 
 Below is a view of the wall across from the fireplace wall. We added five rectangular windows to the three windows that were there originally.
 
Here is the new fireplace and the two arched windows that flank it. I didn't go traditional with the  fireplace, instead choosing a 65" rectangular shaped unit (face/viewing area of the fireplace is covered by card board in the picture). 

Looking back toward kitchen...

 
So this is where we are... still work to be done, but getting closer to completion all the time. We think the space will be nice to use...
  
 
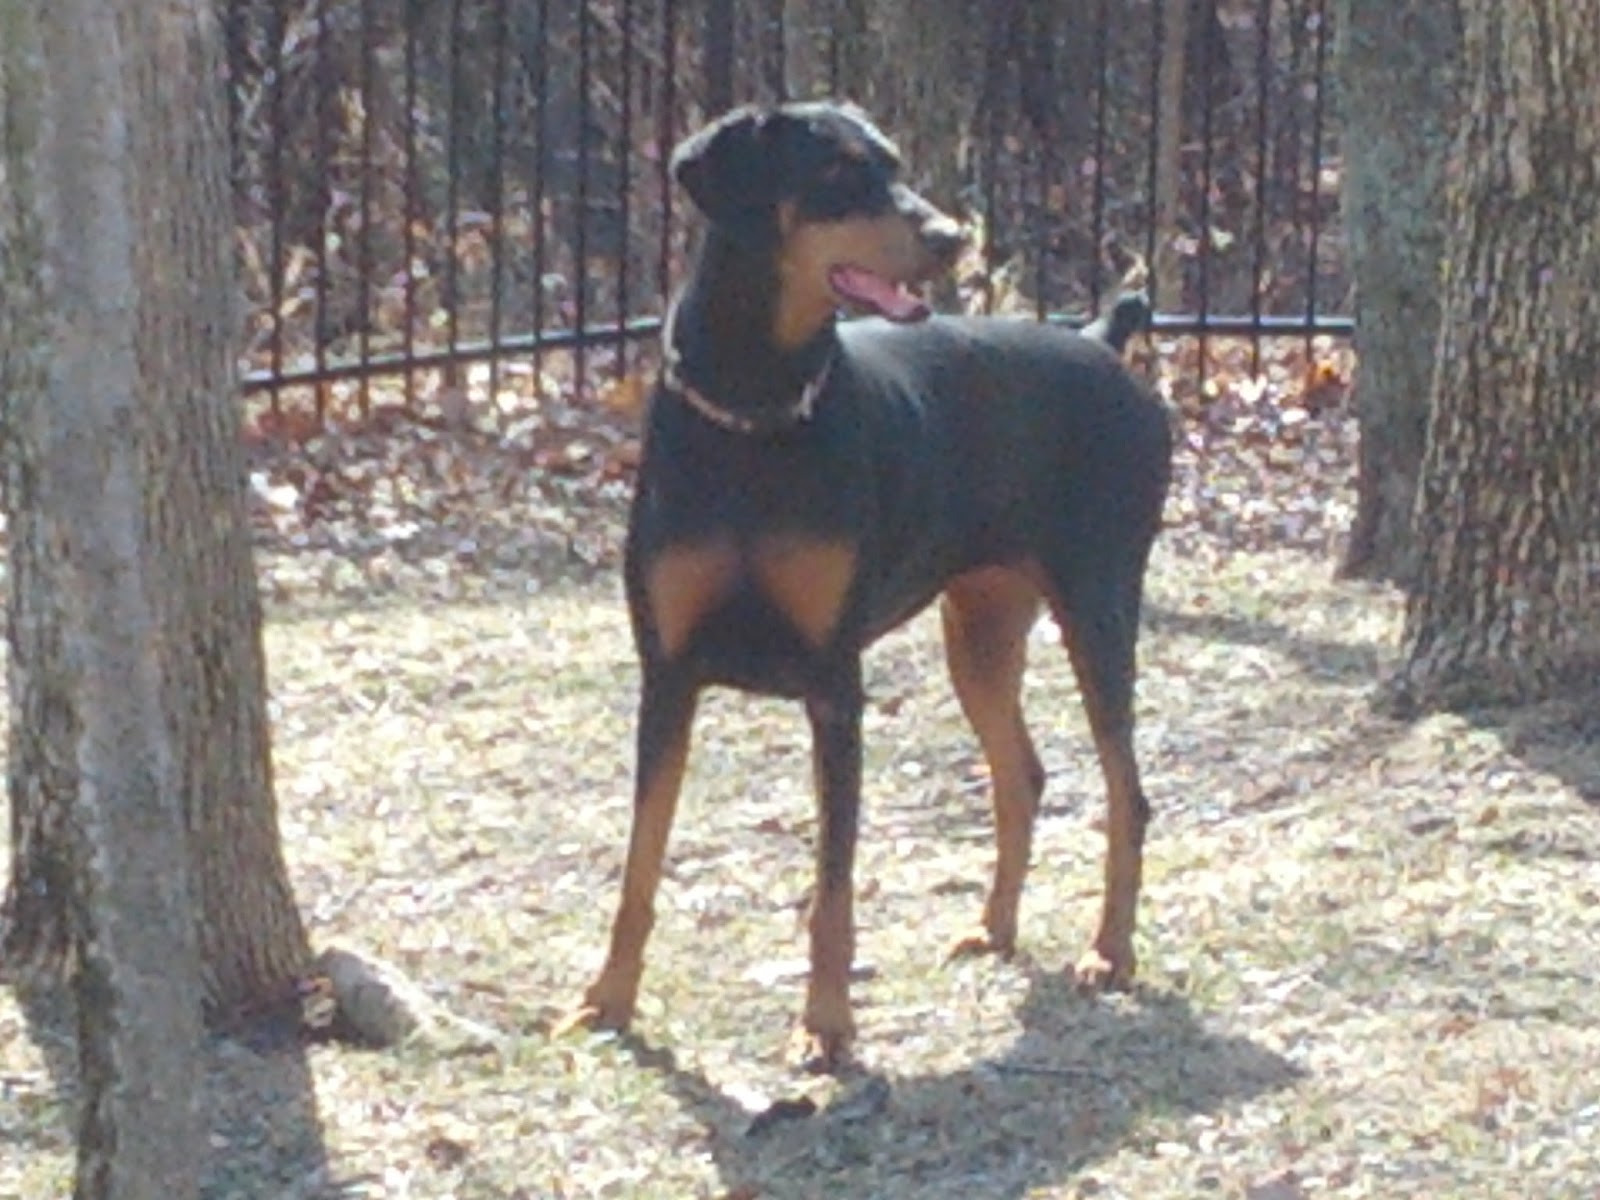
and our Dobermans love the extra 'sunning' space. :)


Linking to:

Feathered Nest Friday @ French Country Cottage
Show and Tell Friday @ My Romantic Home


Wednesday, February 22, 2012

Kitchen Island Stools (& New Leopard Print Chair?)


Above are our new kitchen island stools.  
Below were are the old ones:


I have never liked the counter stools for our kitchen island. We brought them from our previous home and they have never been particularly comfortable.  More importantly, the stools were almost two inches too short for the height of the island in our current home.  Below shows the height issue.

I kept the stools longer than I would have otherwise because they matched our kitchen dining set (below).

However, since I am replacing the dining set (looking for a table that can extend to a longer length when needed), I purchased new stools, of course making sure the seat height was appropriate. "Counter height" stools can vary by as much as three inches depending on the manufacturer, so it is important to figure out what seat height you need. The stool I chose is made by Lorts, shown below. The stool is very comfortable, mainly because of the firm, yet supportive seat and the swivel function. The stool is of very good quality (sturdy material, smooth swivel motion, nice finishing) and the price wasn't exhorbitant... no doubt Lorts offers a great product at a reasonable price.


I ended up choosing a black, slightly rubbed back and distressed finish called Java with a dark brown leather called black bean. I like the fact that although the stools have some detail, they are still relatively simple. I also like that the stools have very low, non-constrictive arms. 


The images are not very good (too dark) as I have no photography skills. Below is a pic with the flash on, but the flash distorted the image, especially in regard to the leather seat...  the actual color is much deeper and doesn't have that hint of purple).
Here is a close up of the seat, where the texture of the leather and the slight distressing in the finish can kind of be seen.


Here is a (dark) view of the backs.


... and with the flash on.  Reality is somewhere between 'flash' and 'no flash.'.


Topic Two: New Leopard Print Chair?

I need a chair for the hearth area in our kitchen.  Below you can see the general area (and can also see how the previous stools were way too short). The area where I would place the new chair is to the right of the leather chair and ottoman, where you can see a glimpse of an arm and a leg of a chair on the far right.

Below is a slightly wider view that shows the chair (far right) that I am replacing. It came from our old house and was my boy Max's chair, who I lost last July. (You can see him lounging in the image).

The chair I am thinking about is from my favorite furniture store, Seville Home, in Overland Park, Kansas, (site). The chair is an upholstered wing back in a textured leopard print fabric that has croc embossed leather on the arm sides and back. Although the size and style is good, my concern is that the fabric and finishing of the chair could compete with surrounding pieces and overwhelm the small hearth area.  Here is the chair (pictured at the Seville Home).

Hmmm....

Linking to: